Renovation Tips & Ideas To Upgrade an Old Shed
Upgrading an old shed might seem like a big task, but it can be easier and more rewarding than you think. Whether your shed needs a little fixing or a full makeover, this guide will help you turn it into a space that’s useful, strong, and good-looking.
1. Introduction
Sometimes, an old shed looks worn out, but that doesn’t mean you have to tear it down totally and buy a new one. Upgrading your shed can save you a lot of money and help the environment by reusing what you already have. With a few smart changes, you can make your old shed strong, useful, and even beautiful again.
Fixing up a shed also gives you a chance to turn it into something more than just storage. It could become a small workshop, a garden shed, a playhouse, or even a quiet space to relax. You don’t need to be an expert builder but all you need is just some basic tools, a plan, and the right advice.
In this article, I will walk you through every step of upgrading your shed. From checking its condition to fixing damage, making it waterproof, and even adding new features inside and out, I will cover everything.
Let’s get started and bring your old shed back to life.
2- Evaluate the Current Condition of Your Shed
Before making any upgrades, it’s important to take a good look at your shed and see what shape it’s in. This helps you know what needs fixing and what’s still working well.
1. Check the Structure:
Start with the base. Is the foundation strong and level? Look at the floor, are the boards soft, loose, or rotting? Next, check the walls and roof for cracks, sagging, or any signs that the structure is weak or leaning.
2. Look for Damage:
Water is one of the biggest problems for sheds. Look for dark stains, soft spots in wood, mold, or musty smells. These could mean water is getting in. If you find rot, you may need to replace some parts.
3. Watch for pests:
Insects, mice, or birds can make a mess inside your shed. Look for chewed wires, nests, droppings, or small holes. If pests have moved in, clear them out before making upgrades.
4. Check electrical and airflow:
If your shed has lights or outlets, test them to make sure they work safely. Also, make sure there’s enough ventilation. Good airflow helps prevent moisture and mold.
Pro Tip: Make a simple checklist and write down what needs attention. This will help you stay organized as you start your shed renovation.
Planning Your Shed Renovation
Once you know what needs fixing, it’s time to plan your shed upgrade. Start by deciding what you want to use the shed for. Will it work like a storage shed, or will you turn it into something new like a workshop, office, home gym, or garden shed?
Next, set a budget. Think about how much you are willing to spend on materials, tools, and help (if needed). You don’t need to do everything at once, instead start with the most important fixes and add upgrades over time.
Now decide if you want to do the work yourself (DIY) or hire a professional shed builder. DIY can save money, but some jobs like electrical work or major repairs might need expert help.
Make a list of tools and materials you will need. This could include wood, nails, screws, paint, insulation, roofing materials, and basic tools like a hammer, drill, or saw. Lastly, think about your time. Will this be a weekend project, or will it take a few weeks? Having a timeline helps keep you on track and makes the work less stressful.
3- Structural Repairs & Upgrades
Now that your plan is ready, it’s time to fix the main parts of your shed which is the structure. These repairs will help your shed last longer, stay safe, and be more useful.
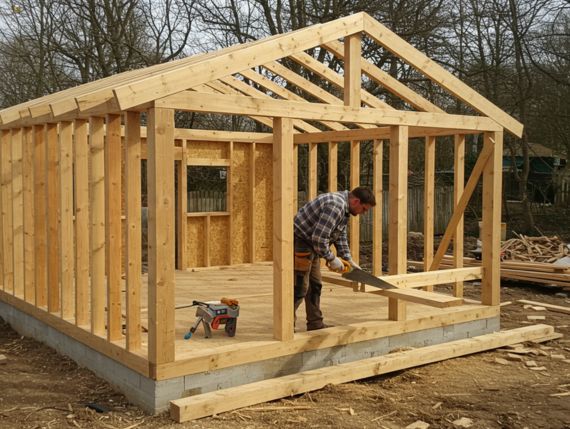
1. Foundation and floor:
Start at the bottom. If the shed is leaning or uneven, you might need to level it again. Use blocks or shims to balance it. If the floorboards are soft, sagging, or rotting, they will need to be replaced. Use treated lumber to prevent future rot. A solid floor makes the rest of the work easier and safer.
2. Roof repairs:
Check the roof for missing or damaged shingles. Replace any that are worn out or broken. If you want something stronger, consider switching to metal roofing because it lasts longer and handles harsh weather better. Seal any leaks with roofing sealant or replace the damaged area. A leak-free roof is key to keeping your shed dry and safe.
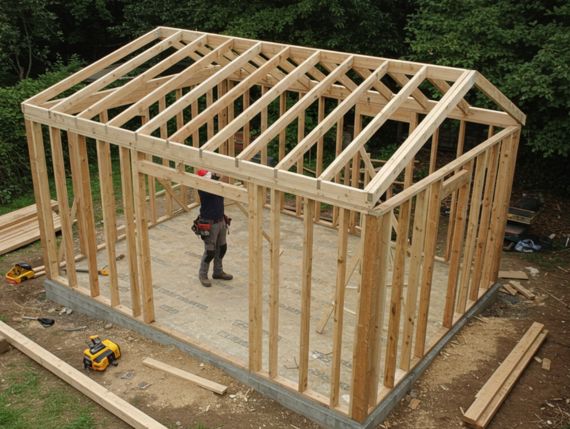
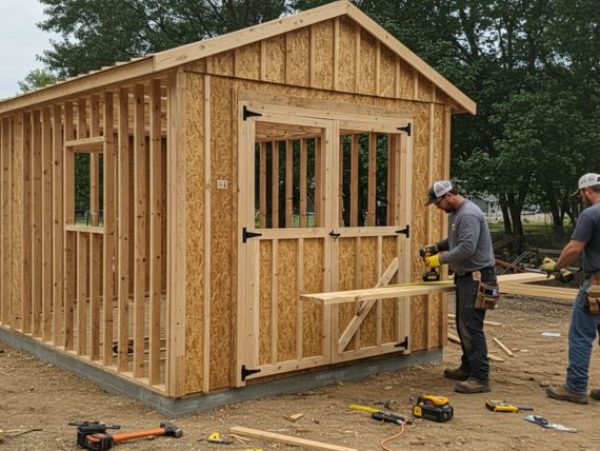
3. Walls and framing:
Look at the walls and inside frame. If you find cracked or rotted wood, it should be replaced. Add extra studs if the walls feel weak or if you are going to add heavy shelves later. For siding, replace broken panels and repaint/seal wood to protect it from moisture and bugs.
4. Doors and windows:
Check if doors and windows open and close easily. If they stick or don’t shut fully, they may need realignment or new hinges. You can also upgrade to better ones that lock securely and keep heat or cold out. Weather stripping is a cheap and easy way to improve your shed’s insulation.
5. Optional upgrades:
Want your shed to be more comfortable all year? Add insulation to the walls and roof. This is especially helpful if you are using it as a workspace. Reinforce the frame if you plan to hang shelves or install heavy items.
4- Weatherproofing & Moisture Protection
Keeping your shed safe from rain, snow, and moisture is super important. If water gets inside, it can lead to rot, mold, and damage to anything you store.
- Seal all cracks and joints: Look around doors, windows, corners, and roof edges for small gaps or cracks. Use weatherproof caulk or sealant to close them. This helps stop water and cold air from getting in.
- Add waterproof coatings: Paint or seal the outside walls and roof with waterproof products. You can use wood sealers, water-resistant paints, or roof coatings. This adds a layer of protection that keeps your shed dry for longer.
- Install drip edges and gutters: Drip edges help water run off the roof instead of soaking into the edges. Gutters are also a great idea as they carry rainwater away from your shed which protect the base and keep the ground dry.
- Improve airflow: Good ventilation prevents moisture buildup inside. Add vents near the roof or small windows that can open. This helps stop mold and keeps the inside air fresh.
- Use floor barriers: If your shed is built on dirt or concrete, lay down a vapor barrier (like plastic sheeting) to block moisture from coming up. You can also raise the floor slightly to let air move underneath.
5- Shed Aesthetic Upgrades
Once your shed is strong and weatherproof, it’s time to make it look great! A few simple changes can completely refresh the look of your shed and make it a beautiful part of your backyard.
1. Paint or stain the exterior:
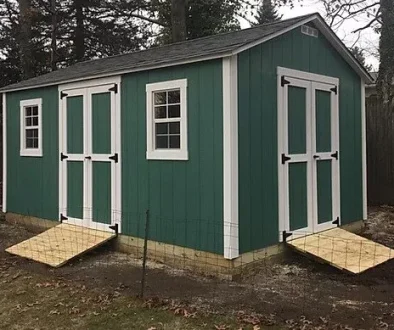
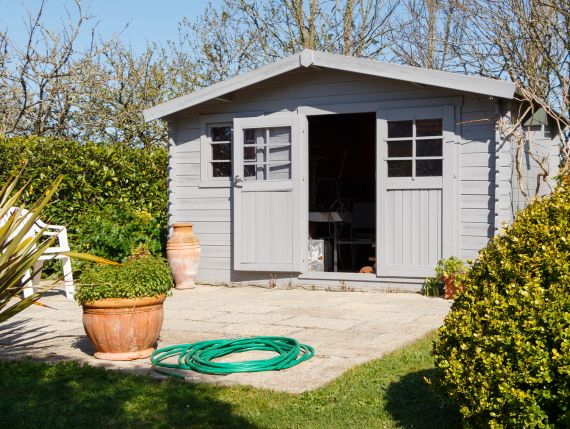
A fresh coat of paint or stain gives your shed a new life. Choose colors that match your home or garden. Earth tones like green, brown, or beige blend well with nature, other bold colors like red or blue also make it stand out. Use weather-resistant paints or stains made for outdoor wood to protect against sun and rain. Always clean and sand the surface before painting for a smooth finish.
2. Upgrade siding or add cladding:
If the outside walls are damaged or old-looking its better to replace or cover them. Vinyl is low-maintenance, wood gives a natural look, and metal adds durability. Pick the one that fits your style and budget.
3. Add landscaping around the shed:
Make the area around your shed more inviting with flower beds, mulch, gravel paths, or stepping stones. Even a few potted plants can make a big difference.
4. Roof decorations:
Add charm to your roof with small extras like cupolas, weathervanes, or solar-powered lights. These are easy to install and give your shed a polished look.
5. Decorate the walls:
Hang shutters next to windows, install trellises with climbing plants, or add planter boxes for flowers or herbs. These small touches can make your shed feel like part of your garden.
6- Shed Interior Upgrades & Functional Features
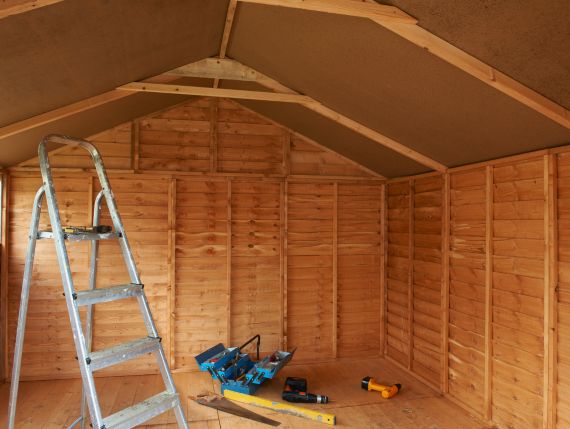
Once the outside is done, it’s time to focus on the inside of your shed. A few smart upgrades can make the interior more useful, organized, and comfortable.
Shelves & Storage
Install wall-mounted shelves to keep tools, boxes, or supplies off the floor. Use hooks for pegboards to hang items like garden tools.
Improve Lighting
If your shed doesn’t have power, you can use battery-powered LED lights or solar-powered options. If it’s wired, consider installing ceiling lights.
Workbench/Table
If you’re using the shed for hobbies, repairs, or gardening, a simple workbench or table can be very handy. You can build one yourself.
Walls & Roof Insulation
Adding insulation keeps the shed warmer in winter and cooler in summer. Use foam boards, fiberglass, or spray foam.
Shed Flooring Upgrades
If the floor is bare wood or concrete, you can paint it with floor paint or add vinyl tiles, mats, or rubber flooring.
Ventilation
Install vents or small windows to keep air moving and avoid stuffiness. Good airflow also helps prevent mold and moisture buildup.
Maintenance Plan
To keep your renovated shed in good shape, it’s important to follow a simple maintenance routine. Start by doing a quick inspection every few months. Look for signs of damage, moisture, or wear especially after storms. Repainting or re-staining every 2–3 years helps protect the wood and keeps it looking fresh. Check for pests and mold regularly. Remove any cobwebs, clean out old items, and make sure there are no signs of rodents or insects.
If you spot mold or mildew, clean it right away with mild cleaners or vinegar solutions. Check the roof for loose shingles, leaks, or water stains. Clear leaves from gutters and make sure there’s no water pooling around the shed’s base. If maintenance looks difficult, you can hire an expert shed maintenance service to your shed in best condition.
Sustainability Tips:
Want to make your shed upgrade more eco-friendly? Try these smart, sustainable ideas:
- Repurpose old doors, windows, or shelves instead of tossing them. A little creativity can save money and reduce waste.
- Use reclaimed wood or recycled metal. These materials give your shed character while being kinder to the planet.
- Choose eco-friendly paints and finishes. Look for low-VOC or natural paints that are safer for you and the environment.
- Use small solar panels to power lights, fans, or chargers without running electricity from your house.
- Paint the shed in light colors to reflect heat, install vents for airflow, and place it where it gets shade in summer and sun in winter.
Conclusion:
Upgrading an old shed is a smart and rewarding project. Instead of spending a lot on a brand-new shed, fixing up your existing one can save money, help the environment, and add new life to your backyard. Start by checking the shed’s condition, look at the floor, roof, walls, and make sure there are no leaks, pests, or damage. Then, plan what you want your shed to be used for, set a budget, and decide whether to DIY or get help.
Next, take care of all the important repairs like fixing the foundation, roof, and windows. Don’t forget to seal cracks and add waterproofing to protect your shed from rain and moisture. Once it’s dry and safe, you can work on making it look better with fresh paint, new siding, and decorations like plants or lights.
Inside, organize with shelves, lighting, and workbenches. You can even insulate it if you plan to spend time there. Choose eco-friendly materials where possible and consider adding solar power for a greener touch. Finally, keep your shed in great shape by checking it regularly, cleaning it seasonally, and repainting when needed. With a little time and effort, your old shed can become a beautiful, useful space you’ll enjoy for years!
Stop Guessing – Calculate Your Perfect Shed Budget!
Our effortless buying process makes it easy to customize your storage shed.
